
This has got to be the easiest, most budget friendly baseboard hack of all time. Want the illusion of thicker baseboards, but don’t want the hassle of tearing out all the old trim? Or not excited about the big dollar sign that comes with replacing all new baseboard trim? Well this no demo taller baseboard hack is for you!
This post on how to make baseboards thicker WITHOUT demoing the existing trim will give you step by step tutorial showing how to add character to wimpy trim. Taller baseboards give a room a much more luxurious look and make the space look larger.
If you want to learn how to make baseboards taller the easy way then just keep reading. I’ll give you the inside scoop on how to spend less $$$, waste less material and put in less back breaking labor for MORE impactful baseboard trim!

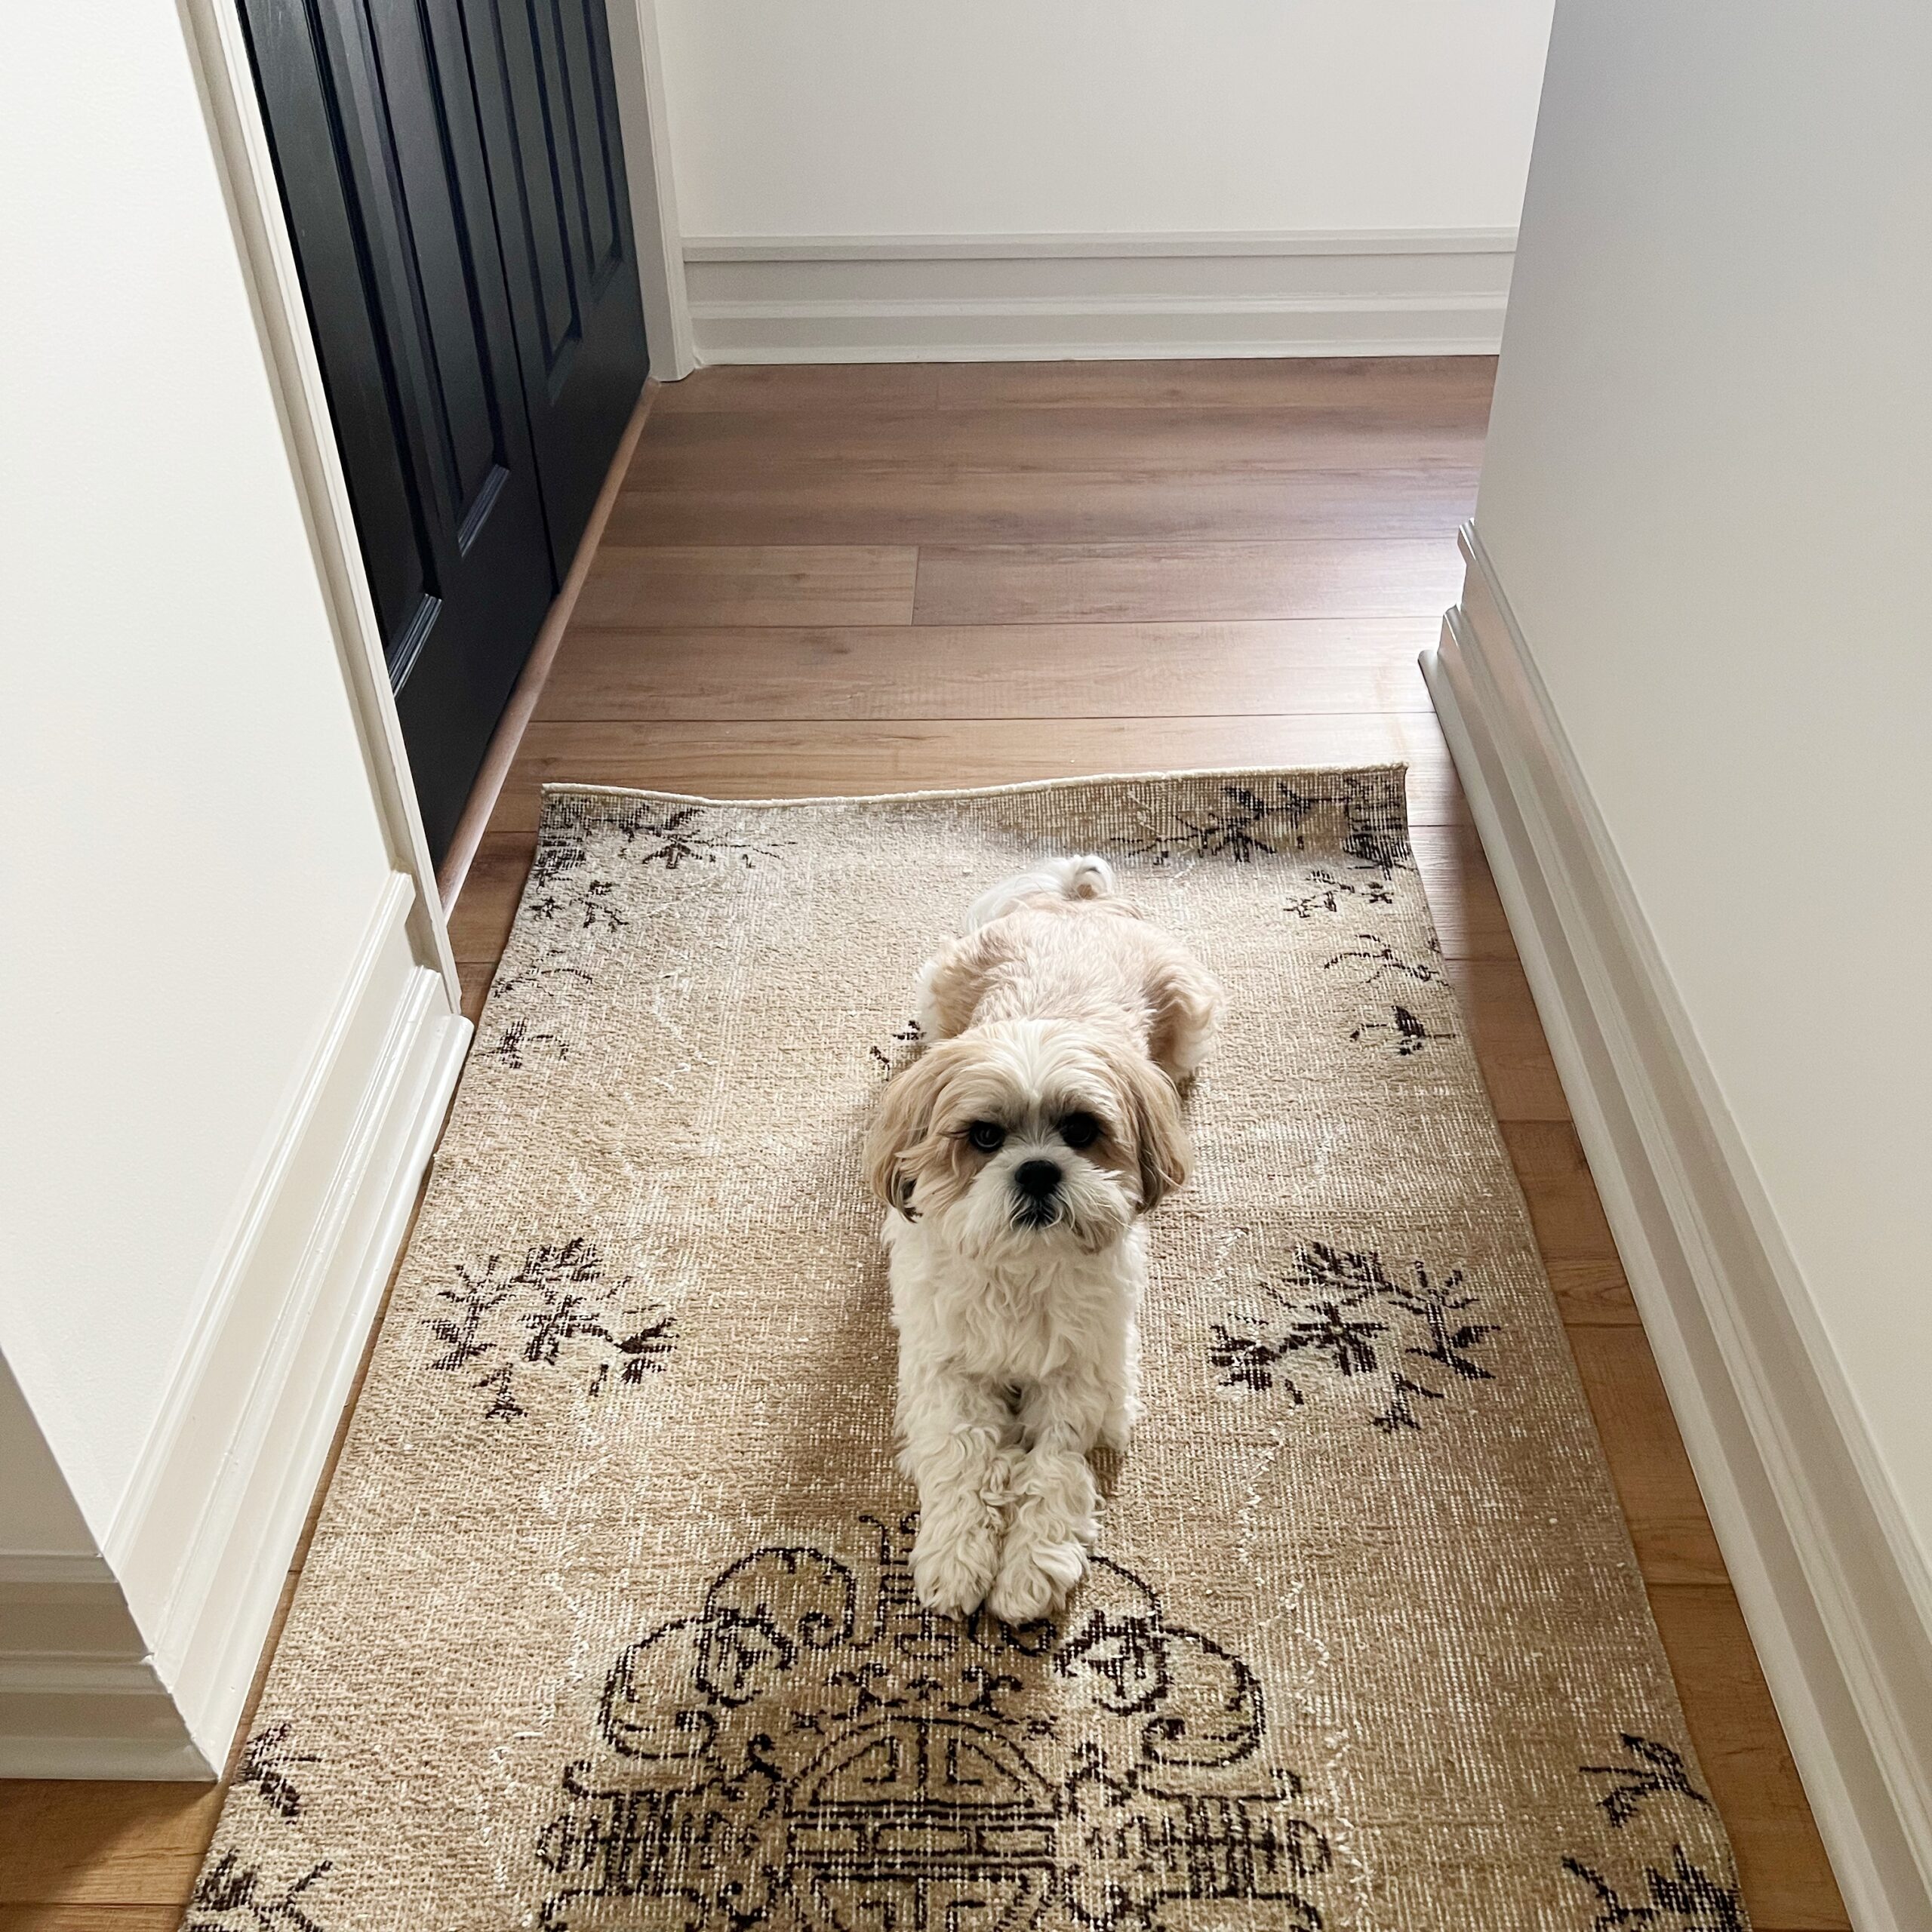
Hallway Before

Here’s the hallway before any trim updates. This is essentially what the hallway looked like when we moved in, aside from new flooring. I promise no dogs were harmed in the shooting of this photo. And surprisingly, there were no treats involved. Don’t you wish you were as photogenic?
Supplies You’ll Need for Baseboard Update:
- Krud Kutter
- Base cap molding (length of perimeter of room)
- Measuring tape
- Miter saw (or miter box)
- Stud finder
- Painters tape
- Spacer (I used a 1 x 3)
- Nail gun
- Nail set
- Wood filler
- Caulk
- Paint
- Paint brush
Oak and Grain Refinishing is a reader-supported blog. At no extra cost to you, I may receive commission if you click and buy through links on this site. Please review Terms & Conditions.
Step by Step:
1) Measure and cut base cap molding
To get started in your taller baseboard update, you’ll need to measure all the walls. Cut the base cap molding to these lengths at a 45 degree angle. For outside corners, I prefer to mark these exact lengths instead of using a measuring tape


If you don’t have a miter saw and aren’t in a position to invest in one, a miter box would be a great alternative for a small project like this.
2) Nail base cap molding to the wall using spacer
Now that you have all your pieces cut, it’s time to attach them to the wall. You’ll first want to identify the studs for the most secure trim attachment. I marked mine with painters tape slightly above where I was attaching the trim.

Using your nail gun and spacer, nail the base cap molding to the wall over the studs. Depending on the desired thickness of illusion trim, you can use a piece of scrap wood wider or thinner. I found a 1×3 space provided a proportional baseboard height for my space.

3) Set nails (if needed)
As much as I love my nail gun, sometimes it doesn’t drive the nails quite deep enough into the material. In these cases, just use a nail set and hammer to tap them in a bit deeper. You just don’t want nail heads pocking out of your paint. Set nails deep enough for just a dap of filler to sit over them.

4) Fill nail holes
Now that you have the trim attached to the wall and nails set you’ll start to see the baseboard illusion coming to life! Taking a little wood filler on your finger or small putty knife, push the putty into all the nail holes. Allow it to dry per label instructions and give it a gentle sand with 220 grit sand paper.
5) Caulk over base cap molding & corners
For a seamless look, run a bead of caulk over the top of the base cap molding and in all the corners. Caulk can REALLY mask some imperfect miter cuts so don’t fret if your cuts aren’t flush. There’s no need to try to caulk the underneath surface of the trim – no one will see this.

6) Time for paint!
Here is the last and final step! Paint! No matter what color you choose – whether you’re going with a contrasting trim like I did or perhaps love the look of white classic trim – you’ll paint the base cap molding, the empty space and the existing trim all the same color. This will give the illusion that it’s all one piece.
There is the option to paint the molding before attaching it to the wall – this is what I did. However, I’m not sure it really saves any time, because after caulking and nail hole filling you’ll need another coat of paint anyway.
I selected the colors Swiss Coffee and Sculptor Clay by Behr.

There you have it, thicker and taller baseboard hack on a budget and with a fraction of the work compared to completely new baseboards. Your space will look so much richer and elevated with this simple baseboard update.

Rug from Biev. Enjoy 10% off with code:
JESSICA10
You’ll also notice that I painted the bifold laundry doors black for some contrast, updated the door knobs and beefed up the upper door frame. If you are interested in more easy trim update ideas, you’ll probably love my minimal demo door casing update I also used in this hallway or the thicker trim hack I used in our primary bedroom. Both give the spaces a lot more character, but are so much easier to achieve than a full trim or baseboard replacement.
Happy trimming!

Girl Behind the Blog

I’m Jess, the creator of Oak & Grain. A mid-west girl at heart who now resides in Raleigh, NC. I love finding old things and giving them new purpose by way of refinishing or incorporating unexpected, overlooked thrift store finds in the modern home. I work full-time in medicine and I love dipping into my creative side and in the process, keeping my sanity. Follow me on Instagram and YouTube to see more behind the scenes action.
5 responses to “NO DEMO Taller Baseboard Hack”
I just love this look! You did an amazing job! 😊
Beth, you are the most supportive person ever & I so appreciate your friendship! 🤍 thank you!
How I envy your creativity, enthusiasm & ability to remain hunched over without needing assistance getting back up (so now you know a little about me).
Rock on with your bad self, Jess.
Hahah Susan! I’m sure one day I will regret my bad ergonomic practices 😂 Thanks so much for the chuckle & kind comment!
[…] No Demo Taller Baseboards DIY Vintage Mirror Dupe 5 Budget Friendly Ways to Make Your Home Look Expensive […]