
Not every piece of furniture needs a whole top to bottom refinish to look brand new! Maybe you’re asking, “How can I refinish only the top of a table?” When it comes to refreshing an old wooden table, you don’t always need to refinish the whole thing. Sometimes, focusing on the most worn areas—like the top of the table—is the best way to bring new life to a piece of furniture without unnecessary time, effort, and product use.
Can you refinish just the top of a table? ABSOLUTELY!
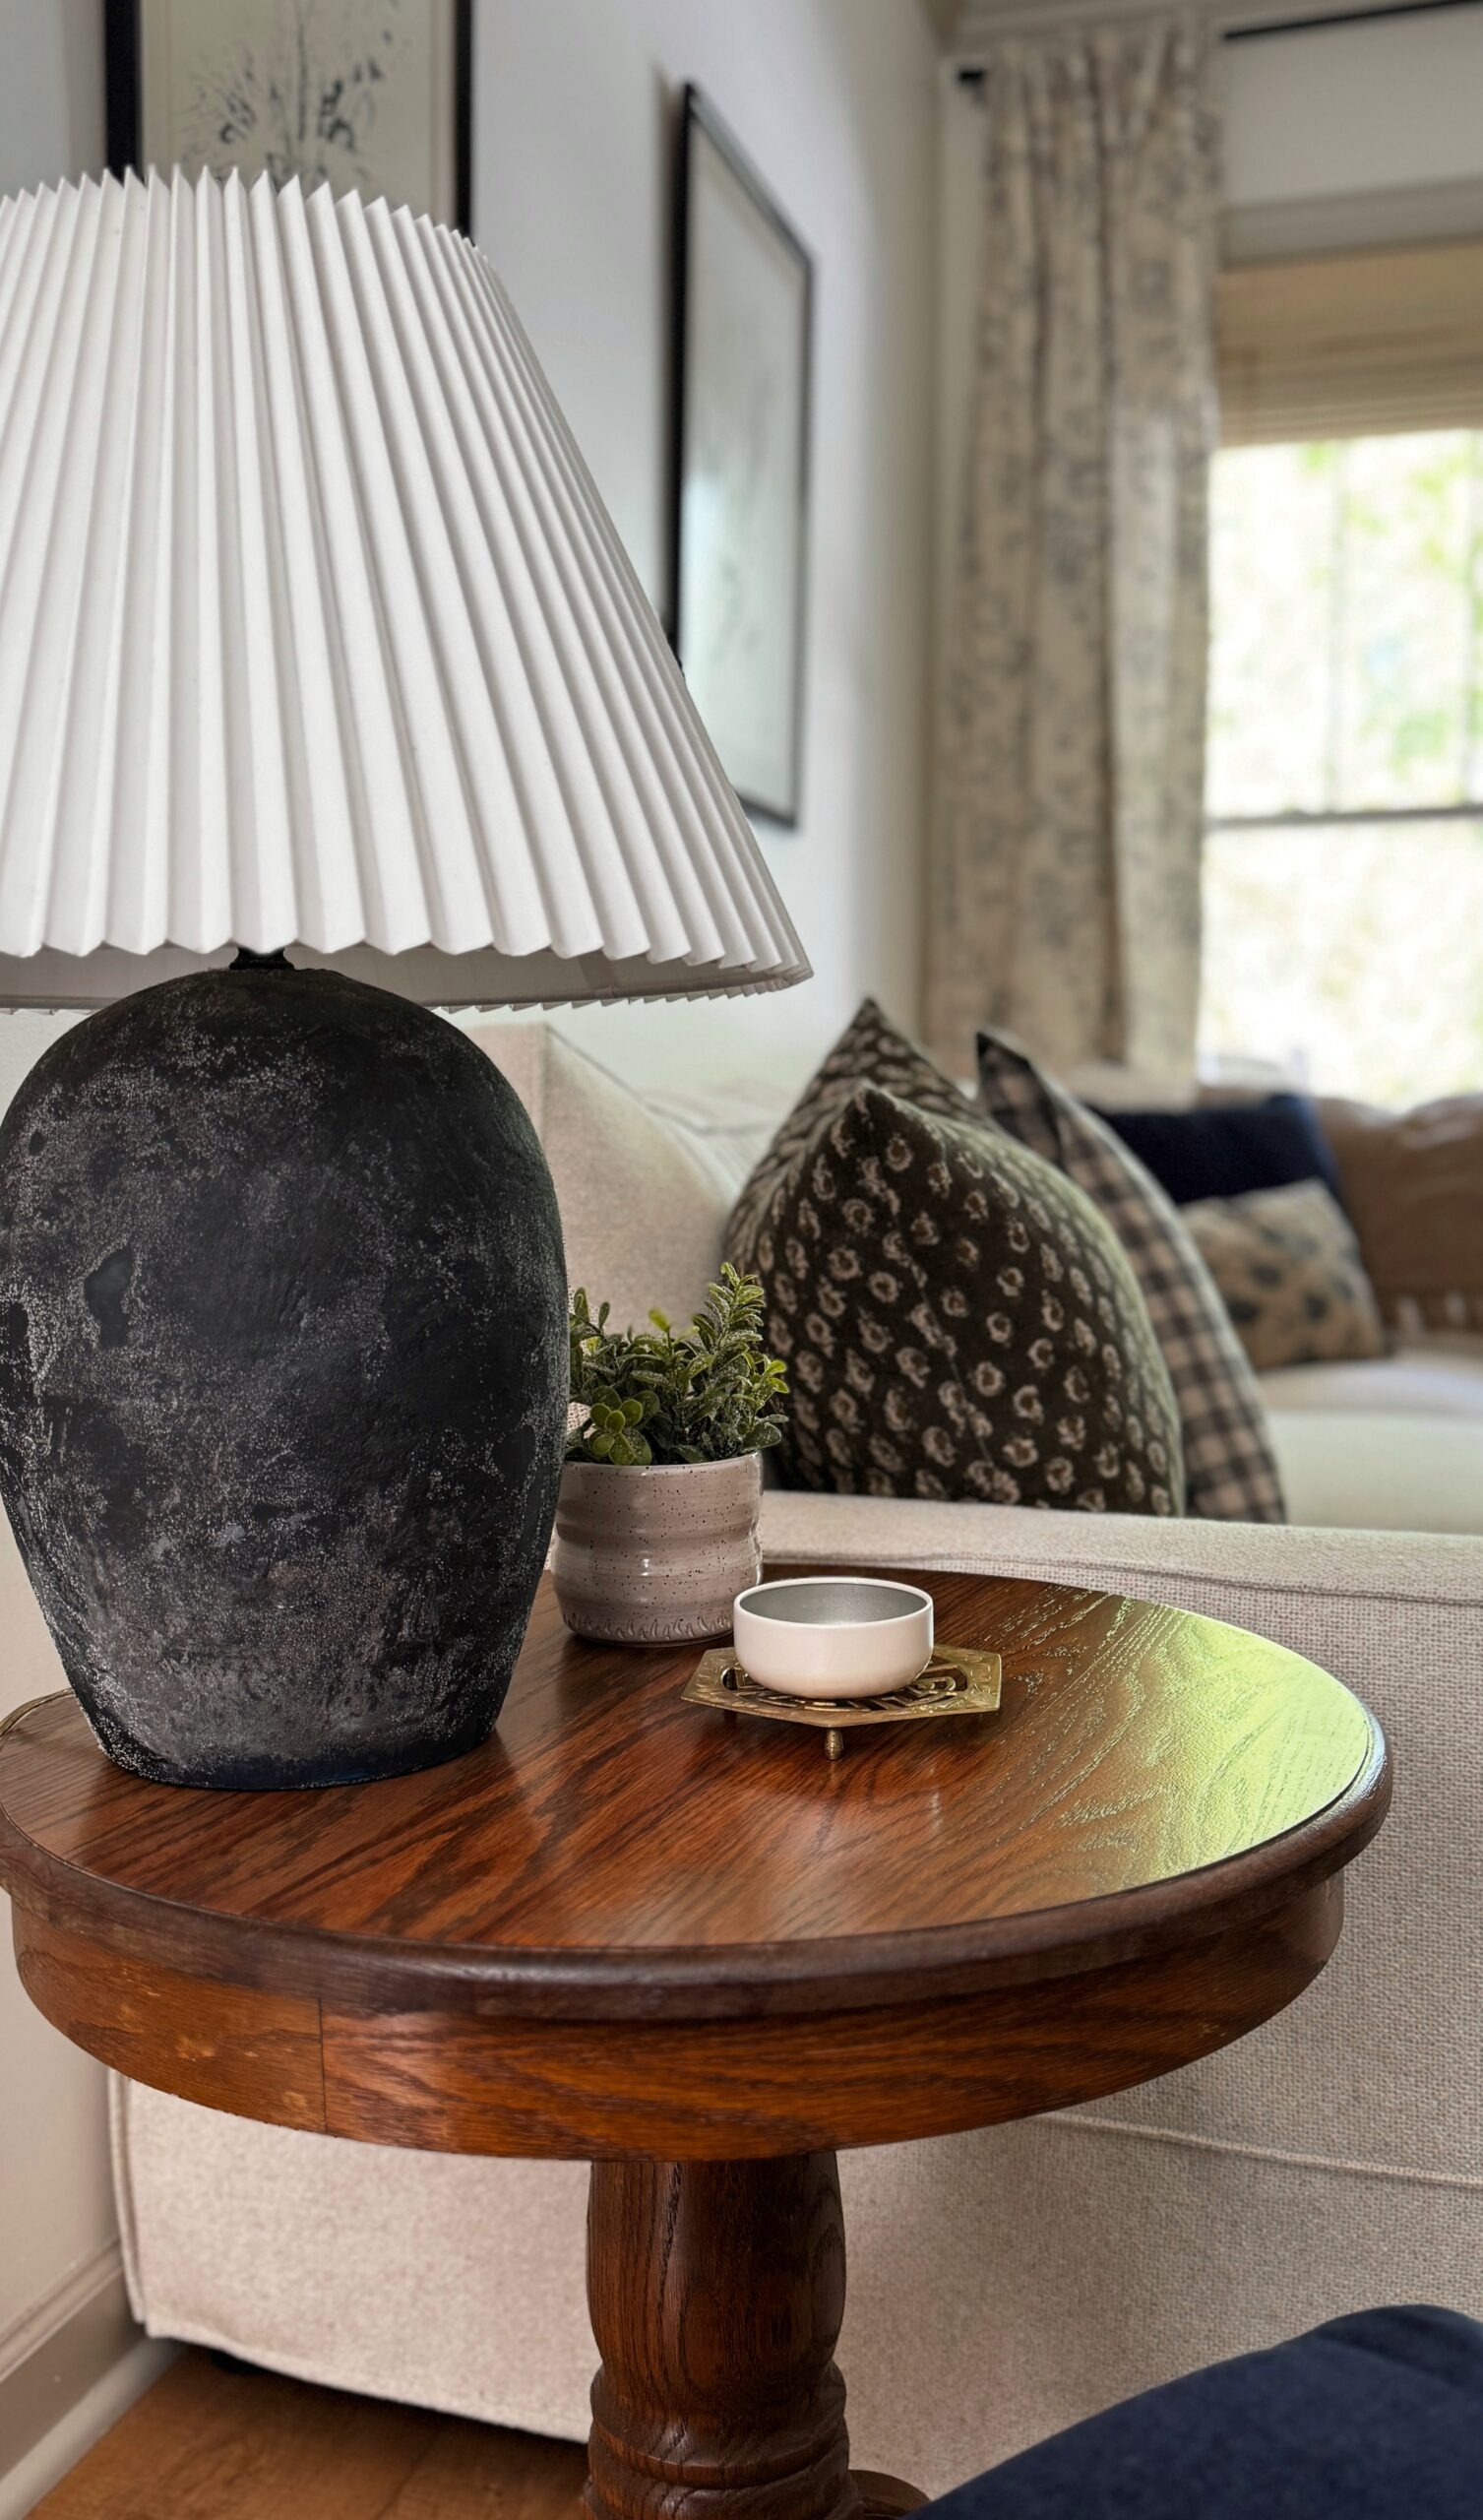
This second-hand table had a beautifully detailed pedestal base in great condition, but the existing finish on the table top had worn down after years of use. Instead of sanding and refinishing the entire table, I decided to keep the original character of the base and only restore the stained top. The result? A new finish that looks refreshed while maintaining the integrity of the piece.


If you have a solid wood table that needs a bit of love, this step-by-step guide will show you how to give it a fresh new stain without starting from scratch. This method is esp. perfect for beginner DIYers looking for a great way to refinish furniture efficiently while still achieving a finished product that looks amazing!

How to Refinish Only the Top of a Table:
Materials You’ll Need:
✔️ Degreasing cleaning agent – Krud Kutter
✔️ Microfiber cloths
✔️ Chemical stripper – QCS or Klean Strip (optional)
✔️ Small wire brush (optional) or steel wool
✔️ Sand paper: 80, 120, 220, 320+ grits
✔️ Electric sander (optional, but very helpful. Here’s a starter for $35)
✔️ Denatured alcohol: water mixed 50:50
✔️ Rubber gloves
✔️ Applicator sponge (sponge brushes or round sponges)
✔️ Stains of choice (I recommend 2-3 colors for color matching/layering)
✔️ Clean racks or shop rags
✔️ Polyurethane top coat (Gel topcoat or water-based poly)
✔️ HomeRight Sprayer (optional)
Step by Step Tutorial: Refinishing Table Top
1) Cleaning with Degreaser
First things first… clean! I personally like to clean furniture first with a degreaser to remove any gunk or grime that could otherwise get pushed into the open wood grain during stripping or sanding.


Taking the time to clean beforehand helps prevent contaminants from being ground into the surface, which can affect how well the wood takes stain or paint later on. A product like Krud Kutter works great for this—just spray it on, give it a good scrub, and wipe clean before moving on to the next step.
Oak and Grain Refinishing is a reader-supported blog. At no extra cost to you, I may receive commission if you click and buy through links on this site. Please review Terms & Conditions.
2) Removing the Old Finish
The next step is to remove the old finish on the table top. Since I wanted to avoid sanding around all the details of the base of the table, I focused only on the flat surfaces of the stained top. There are two main approaches:
Chemical Stripper –
Using a chemical stripper is good idea if the existing finish is thick, there are multiple stained areas or if you are dealing with a veneered top.
For my table, it was solid oak, so I didn’t have to worry about sanding through veneer. However, I opted to use a chemical stripper to try to remove some of the deeper stained areas.


QCS by Stripwell is a favorite chemical stripper of mine. It’s safe to use, highly effective, and much easier to clean up than many other strippers I’ve tried in the past. A thick layer was applied and left to sit for about 45 minutes. After that, a small wire brush helped work out the stains, followed by a wipe-down using a microfiber cloth and a 50/50 mix of denatured alcohol and water to remove the old finish.
Sanding –
To remove the worn finish and prep for a new stain, I used my SurfPrep sander in the following grit sequence:
- 80 grit to remove the old finish and get down to bare wood
- 120 grit to smooth the surface
- 220 grit for a smooth finish and to eliminate any swirl marks


Enjoy 10% off SurfPrep products with code: OAKANDGRAIN10

After sanding, I wiped away the excess dust and cleaned the entire surface with a 50/50 mixture of denatured alcohol and water using a microfiber cloth.

Throughout this blog, you’ll notice repeated steps —just keep this simple routine in mind as we go.

3) Applying the New Stain
Instead of a wood conditioner, I used a thin coat of mineral spirits to prime the surface. This skim coat helps the oil-based stain go on smoothly and wipe off much easier with less streaking.
For a rich, warm tone, I used General Finishes Gel Stain in Nutmeg. These gel stains have wonderful, buildable coverage.

Applying gel stain is simple:
- Wipe it on with a clean rag or foam brush, following the direction of the wood grain.
- Allow it to penetrate for a few minutes, then wipe off any excess with a clean rag.
- I waited 24 hours between coats, sanding with 320-grit in between and wiping away the dust using a 50/50 mix of denatured alcohol and water before applying the next coat of stain.
- I used 2 coats of gel stain to achieve the richness in tone that I was after.


The Challenge of Color Matching
This is where refinishing only the top of a piece of furniture can be tricky… color matching! I probably could have left this table be with just 2 coats of the gel stain applied. But if you’re picky, like me, you can probably see a slight difference between the freshly stained top and the original finish on the bottom. The base of the table with its original finish looks the slightest bit more grey, cool and naturally worn.

In order to bring a slightly more weathered, worn look and cool down the warm tones of the GF Nutmeg gel stain, I decided to go in with one coat of Varathane Weathered Gray Stain.
Can you apply regular stain over gel stain?
YES! You can apply regular stain over gel stain as long as both are oil-based. Just keep in mind that regular stain won’t penetrate as deeply if applied over gel stain. This is because gel stain sits more on the surface of the wood, more like like paint, so it will slightly block the penetrative properties of a regular stain.


Before applying the gray stain, I sanded with 320 grit sand paper and wiped off dust using the denatured alcohol mixture.
I was pretty nervous applying this stark gray color, in fear of ruining the good thing I had going. So, to ensure a very light coverage I worked in small sections only letting the stain sit for a few seconds before wiping it off with a clean rag.

TIP: When applying stain in small sections, leaving a wet edge is always a good idea, so you get a seamless look without streaking.
After the Weathered Gray had dried, I still wasn’t 100% satisfied with the color match, but we are heading in the right direction. It was a little too hazy and gray for my liking, but I liked the coolness it added.

Adding back in warmth
To add back in some warmth over the grayish table top, I went in with one more coat of General Finishes Gel Stain Nutmeg. This step helped to darken the top back down to the rich nutmeg color and added back in some much needed warmth, while still letting the subtle gray layer peak through and give that worn look to match the rest of the table.

4) Last Step: Sealing with Topcoat for a Durable Finish
To protect the new finish, my original plan was to use General Finishes Gel Topcoat, an oil-based polyurethane for a fantastic durable finish that would withstand daily use. However, my can was all dried up. So instead, I used a water-based polyurethane – which I had plenty of – and applied it using my HomeRight Sprayer.
Can you use water based topcoat over gel stain?
Yes! You can use a water based topcoat over gel stain, but you must wait 72 hours before using water-based products over oil based products. Whereas, if you opted to use an oil based topcoat, like Gel Topcoat, you could get away with waiting 12-24 hours (depending on humidity/temperatures).

As with the previous steps between layers, a light sanding was done—this time using a finer 600 grit sandpaper. Dust was wiped away with the denatured alcohol and water mixture before spraying on the topcoat. Using the HomeRight Finish Max Sprayer on its lowest setting worked perfectly, with no thinning needed. A little splattering might happen, but no need to panic—Behr Water-Based Poly levels itself beautifully. Plus, it’ll be sanded smooth before the next coat anyway.


Once the previous coat was dry (about 1 hour), I lightly sanded with 600 grit sandpaper again and wiped the denatured alcohol mixture and a microfiber cloth (you know the drill by now) before applying a 2nd coat using the same steps.
The 3rd and final coat created a strong, finished product with a smooth finish.

Final Thoughts
This easy way of refinishing the table top gave this second-hand table a new life without the hassle of refinishing the whole table. DIY projects like this are a great way to refresh wood furniture without relying on big box stores. If it’s your first time refinishing an oak table or any solid wood table, starting with the top coat only is an efficient, rewarding approach!
CHECK OUT THIS BEFORE AND AFTER!


I am quite satisfied with the color matching results and how amazing the grain now looks with the new stain! Refinishing only the table top is a great way to update an old wooden table without spending days stripping and sanding the whole thing. By keeping the base color intact and refreshing only the stained top, you can preserve the character of the piece while giving it a new life.

This method allows you to focus on the most worn areas while maintaining the original craftsmanship. So if you have a piece of furniture with an existing finish that’s looking a little tired, try this method to bring it back to life—without the hassle of refinishing the whole table!

Spot an Item You Liked?
You May Also Like…

Girl Behind the Blog

I’m Jess, the creator of Oak & Grain. A mid-west girl at heart who now resides in Raleigh, NC. I love finding old things and giving them new purpose by way of refinishing or incorporating unexpected, overlooked thrift store finds in the modern home. I work full-time in medicine and I love dipping into my creative side and in the process, keeping my sanity. Follow me on Instagram and YouTube to see more behind the scenes action.
Keywords & phrases: how refinish only the top of a table / table-top only makeover / can you refinish only the top of furniture? / Can I just refinish the top of a table? / Can you refinish just the top of a table? / Is it possible to refinish a veneer table top? / staining and refinishing a table top / how to refinish solid oak table / beginner furniture refinishing project ideas / how to strip and refinish a wood table top
How to stain just the top of a table / How to sand and refinish a wooden table top / How to refinish a wood table top without stripping / How to restore a table top without sanding / How to apply gel stain to a table top / How to seal a refinished table top / How to remove scratches from a wood table top / How to refinish a table top without painting / How to refresh a wood table without stripping it / How to make an old table look new without painting / How to refinish a wood table top without sanding the whole thing / Best way to refinish a table without painting the base.