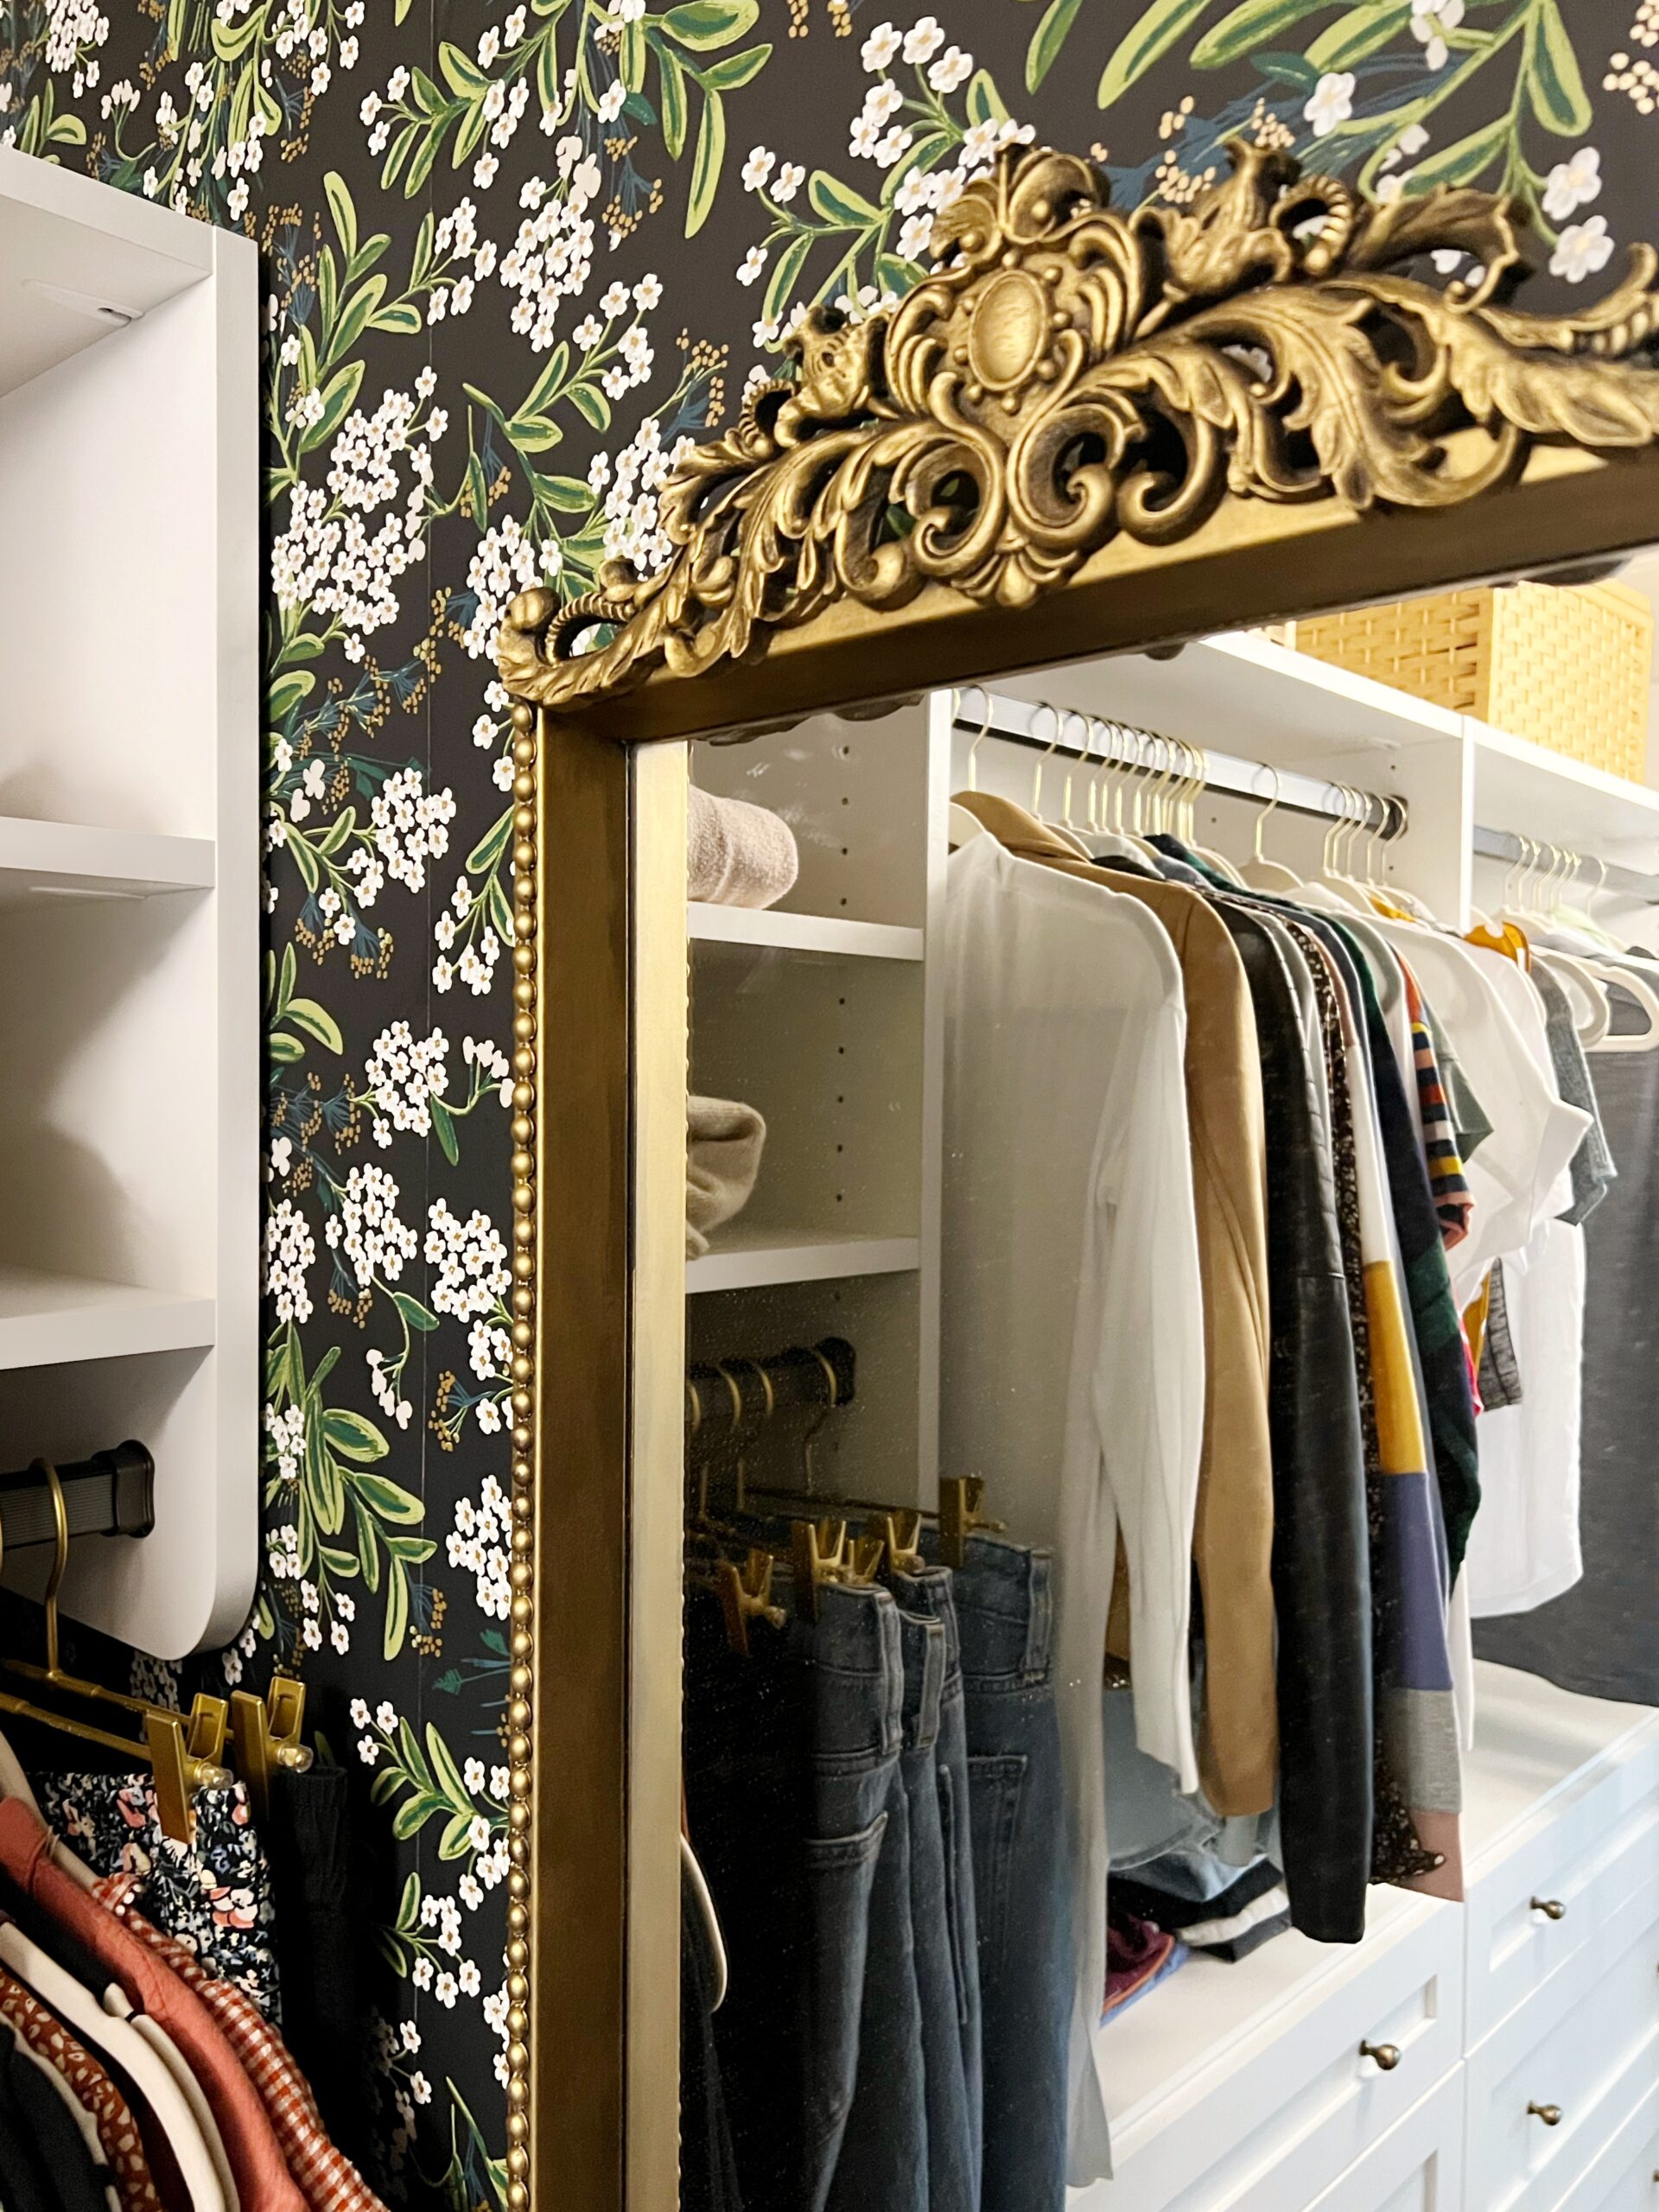
Can’t find a gold vintage mirror for an affordable price and don’t have the budget for the Anthropology Gleaming Primrose mirror?
Well, this $50 DIY French gold mirror dupe is the best antique mirror on a budget!
I couldn’t find the perfect sized mirror for my closet makeover. My boyfriend’s IKEA mirror fit the space size wise, but not stylistically.
I always pictured a beautiful, gold vintage mirror. So I had an idea to upcycle his basic mirror into a DIY Parisian style mirror with a few easy steps.
I feel like almost every household has at least one basic full length mirror hanging on the back of a door somewhere. You can now turn it into an inexpensive ornate mirror to display in the open!

Supplies You’ll Need for DIY Mirror
- Mirror (any size or shape will do). If you don’t already have one here is a $7 mirror from Target.
- Wood appliqués – I used one large appliqué on top + 1 cut in half for the bottom corners. (Depending on your mirror you may need different sizes or shapes)
- Strand of half-round pearl beads
- Hot glue gun or super glue
- Wood glue & clamps (optional)
- Black matte spray paint
- Rub-n-buff – I used Gold Leaf
- Gloves
- Small brush

Step by Step
1) Plan out details
After you’ve gathered supplies, plan where you’ll be putting your details. I cut one wood appliqué in half for the bottom two corners. The strings of pearls will be going down the two sides and across the bottom so I measured and cut these to size.

2) Spray paint details
Using a matte black spray paint, spray all the details you’ll be adding to the frame to take it from basic to an ornate mirror.
In my case, the mirror was already black. If you are starting with a non-black mirror, I would tape off the mirror and also spray paint the mirror frame black in this step.

3) Attach wood appliqués and beads
I used Titebond and clamps to apply wood appliqués and hot glue for the beads. You could probably get away with super glue or hot glue for the appliqués, but they are quite a bit heavier than the beads, so I opted for glue which is more heavy duty.


4) Apply Rub-n-Buff
After you’ve applied the details to the mirror frame and the glue has dried, apply the rub-n-buff.
I used the color gold leaf, but they have a lot of pretty gold colors to choose from. This small, round, flat brush made it really easy to get into all the groves of the details.


The black showing throw slightly gives it a nice, vintage look. Don’t you think?


There you have it! A simple DIY project to get you that vintage-looking mirror for a fraction of the cost! If you try this please tag me on Instagram so I can see your creations. Happy vintaging!

Girl Behind the Blog

I’m Jess, the creator of Oak & Grain. A mid-west girl at heart who now resides in Raleigh, NC. I love finding old things and giving them new purpose by way of refinishing or incorporating unexpected, overlooked thrift store finds in the modern home. I work full-time in medicine and I love dipping into my creative side and in the process, keeping my sanity. Follow me on Instagram and YouTube to see more behind the scenes action.


One response to “DIY Vintage Mirror Dupe that will Save You Hundreds”
Love it! Would have never thought if using the pearl beads. So great! Love the top appliqué, too!